


|
| |
| Welcome to myHanse.com the forum for Hanse Yachts owners throughout the world. | |
Jefa DD1 |
Post Reply 
|
| Author | |
sgrhma2 
Captain 

Joined: 20 November 2021 Location: Northern Irelan Status: Offline Points: 271 |
 Post Options Post Options
") Thanks(0) Thanks(0)
 Quote Reply Quote Reply
 Topic: Jefa DD1 Topic: Jefa DD1Posted: 24 March 2026 at 01:51 |
|
It unfortunately has reached the point where I have had to replace or rebuild the DD1 autopilot drive on my 370. I initially tried contacting Jefa but to no avail and as a result they didnt sell a new one.
Having decided to rebuild my unit, which being extremely stiff to move the tiller arm on it, was obviously in an extremely poor internal state. External there was nothing obvious except for a few areas of corrosion. When I got it home I started dismantling it, this resulted in 4 of the M6 Allen assembly bolts rounding the internal hex and having to drill the heads off them. Interestingly it wasnt the threads of the bolts that were seized but the heads in there recess holes. To reparation the assembly plates I used a sharp fine edged knife to get the initial casing separation. Once having this I used alloy casing separation wedges to fully part the outer casings. Immediately on opening the DD1 it was obvious that the failure was caused by water ingress. Initially blaming the oil seal on the output shaft for this due to the delamination of the rubber seal material from the seals metal frame. On close examination of the shaft there was no evidence of wear or corrosion below the seals lip line. So despite looking appalling it was still doing its job. Bearings and gears were all badly corroded, so I decided to vapour blast (same as aqua blasting) all the components as this would be the only way that the corrosion products could be reliably removed from within the corrosion pits in them. Trying to clean by wire brush or lightly sanding will not remove all the corrosion deposits and then on assembly, rust will contaminate the lubricating grease causing more problems down the line.  These are all the components after vapour blasting. When cleaned, it is obvious how well made and machined the gears, shafts and casings are. The DD1 is a very well made unit. However there is a major design error in that it is a fully sealed unit and cant breath. This causes it to become slightly pressurised when in use, the motor gives off heat resulting in the pressurisation of the insides. If properly assembled this would not be a problem, but the outer casings are assembled without any form of gasket or sealant. Major fault and the reason my drive unit failed! You have metal to metal contact across large surfaces this does not form a gas or water tight seal. As the pressure built up within the unit when running, it leaks to atmosphere. When the unit is no longer in use it then cools drawing in air and any moisture that might be on the surface of the casings. This exhale inhale cycle is happening every time the autopilot is used, drawing in any moisture that is in the external environment. Once any water is in it, it cant escape as the baseplate within the unit is recessed by approximately 0.5mm thereby holding the water. Having gone through Jefa documentation, I can only find them saying to wipe the casing surfaces with grease to act as a seal, this is good to get it out of a warrant period if your lucky but is not a seal of any form. The other suggestion from then is to, once fully assembled, to put a small bead of mastic around the casing and the baseplate. This might seal the lower joint, but does nothing for the other 4 metal to metal joint faces of the unit. It will still fail! What I have done to get over this is to use a sealing compound such as blue hylomar at all metal metal joints ( the same stuff for use in split crankcases and on 2 stroke crankcases) 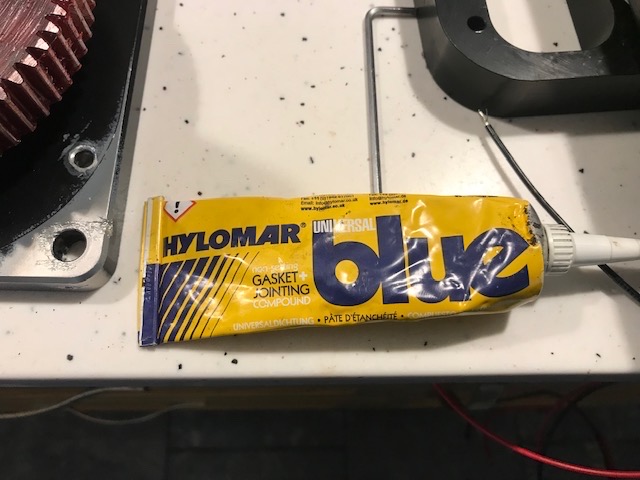 In addition to the casing faces use it liberally on the bolt heads, as these are also a route for water to enter the inside of the unit 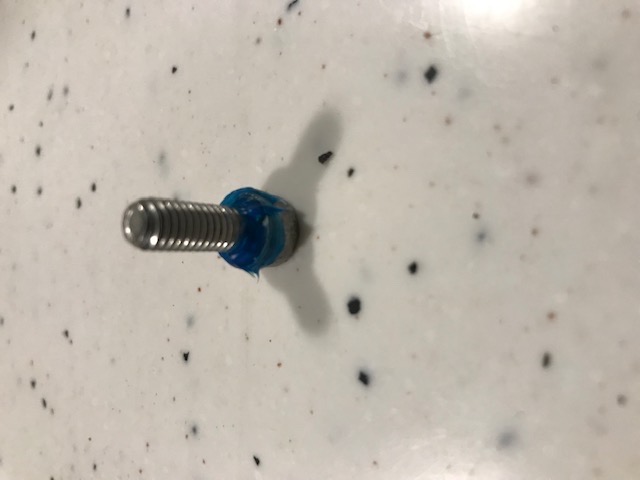 On my unit, I also had major corrosion at the cable glade hatch (which is only sealed using a foam gasket, an excellent gasket material to hold moisture where you dont want it, especially when its in a recess. As you will see in the photo below corrosion has caused holes in the area of the foam gasket seat. 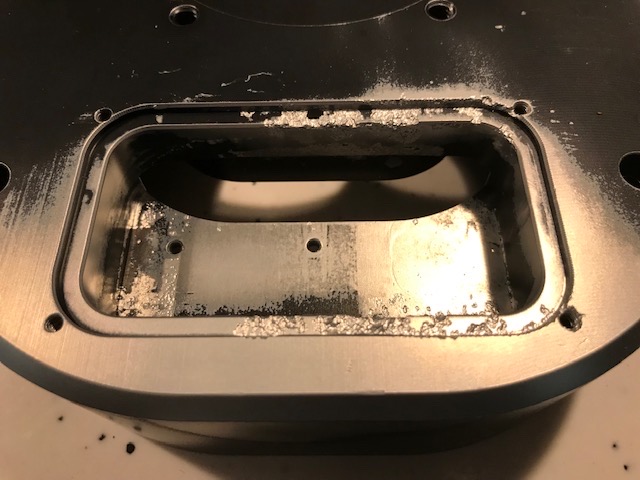 Jefa has recognised this failure point (or maybe it was a manufacturing cost reduction) as they have done away with the gland hatch altogether, mounting the cable glands directly into the main body in newer DD1s. To overcome the problem with the units warming and cooling cycles and letting it breath, I have fitted a third gland that has a 4mm nylon pressure tube going through it. This tube is being brought into the inside of the boat through the same waterproof glad that the wires exit to the drive unit. The tube is then being connected to a silica gel in-line dryer that the DD1 will breathe through. This will ensure that the unit will never pressurise or try to draw water in when it cools. It will run at ambient pressure at all times and breathe dry air from within the boat that is further dried by the in-line silica gel. With new bearings (I fitted stainless sealed ones just in case) and the unit now properly sealed for the first time ever it should easily last more than the almost 21 years it already has. In addition to replacing the drive motor I also replaced the clutch solenoids. They are a pain to replace the new ones arrive just as two separate coils, dogs to engage the clutch and magnets that the coils interact with to operate. Once youve drilled the plastic plugs with a 3mm you screw a self tapper in and pull them out. This gives you access to the clutch coils, dogs and magnets. You have to wire the new coils in series to match the originals giving a positive and negative fed wire. Once done fit them into the casing put the dogs and magnets in and gently tap the plastic plugs back in. Now test the clutch using a 12v power supply or battery, if the clutch dogs dont shoot up through the casing remove the plastic plug on the offending dog and turn the magnet over through 180 degrees. Reassemble and test, both clutch dogs should now shoot up when power is applied. Place your new bearings into the casings, grease all the gears by using a paint brush to apply the grease in a layer that is no more than 2mm thick anywhere. That is plenty of grease to lubricant for life. Place the sealant on the casing faces ensuring that it wont fowl any moving parts (gear wheel that runs directly in the casing and the clutch dogs lock into) and assemble. I used a synthetic grease as it has greater life and is more water resistant. Youll notice in the photos that the black anodising on the unit has been removed in areas by the vapour blasting. The anodising that is done on the units is purely decorative, it does provide some corrosion protection but not much. Rather than paint the reassembled unit Im waxoyling them as its a very good protective coat and has a degree of self healing thereby eliminating the problem where corrosion runs underneath paint. Ive also had extremely good results with it when used on the power trim units on outboards. The first 2 coats should be diluted 50:50 waxoyl and white spirit, this lets it penetrate any corrosion pits and crevices. Leave a day or two between coats to let it dry a bit. Refit to the boat and touch up the waxoyl, over time it will reach a point where it dries. 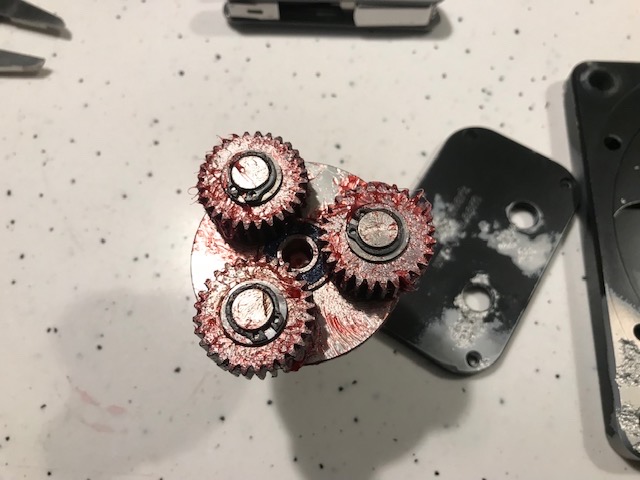  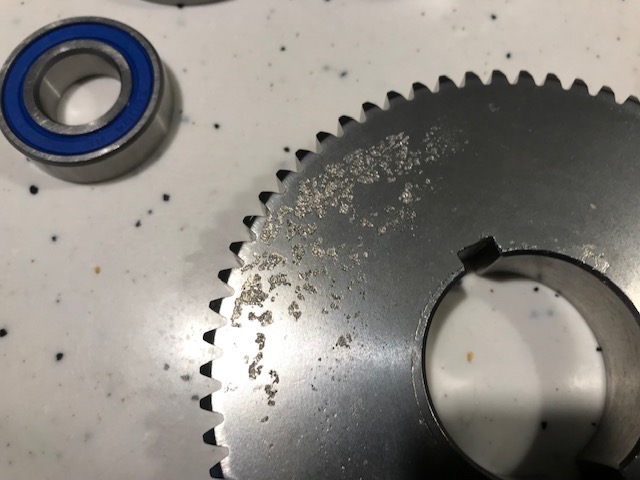 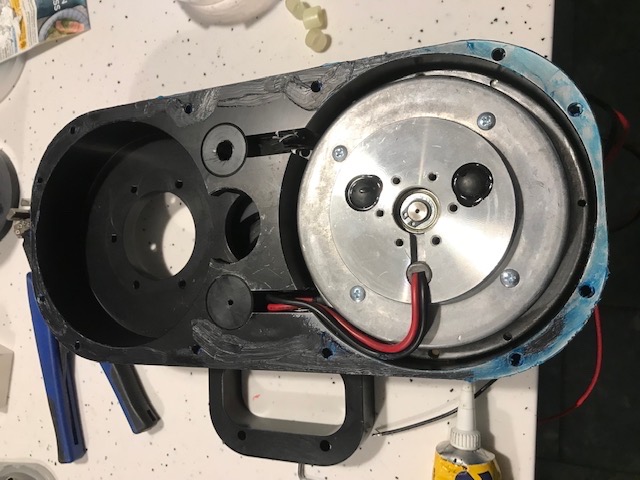 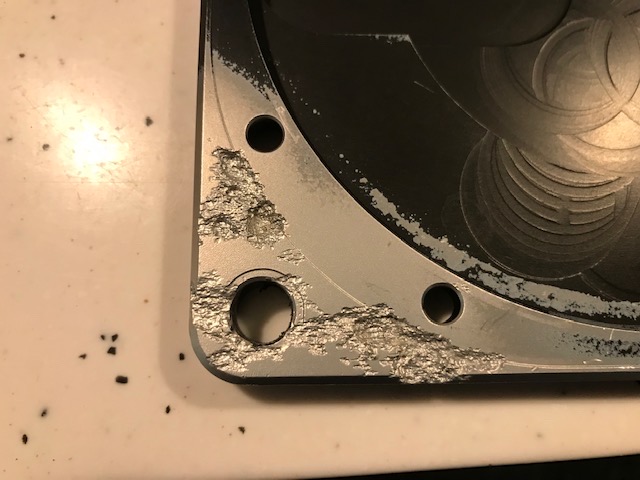 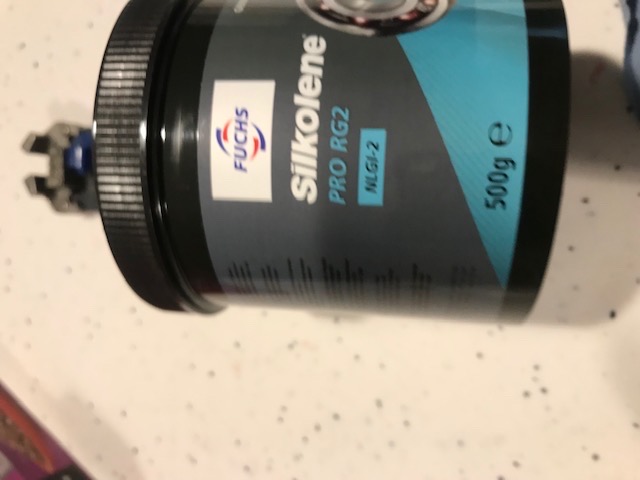 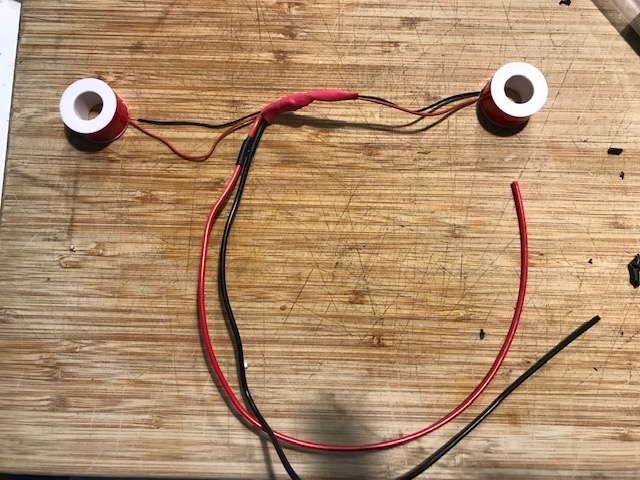 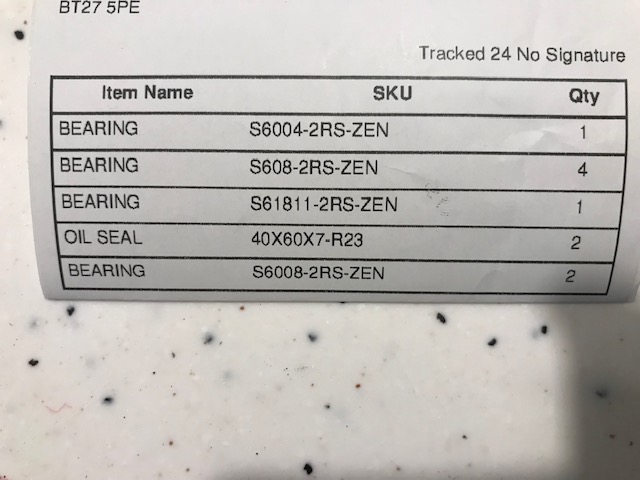 These are the type and numbers for bearings required (all stainless) and the oil seal, although I bought a spare oil seal.  This is the assembled drive, awaiting a couple of replacement bolts and the gland plate and tiller arm to be fitted. The DD1 is basically a very good unit, but it has a couple of faults as pointed out. As also mentioned in this forum it also has to be sized correctly to the boat which is a completely different issue. Hope this was useful Simon
|
|
 |
|
|
jeb
Captain
Joined: 05 May 2014 Location: Sweden Status: Offline Points: 339 |
Post Options
Thanks(0)
Quote Reply
Posted: 24 March 2026 at 08:00 |
|
Nice job! I did a similar rebuild a couple of years ago. I did not replace clutch or motor but cleaned the motors commutator (it was tricky to get apart). However, using sealant between the sandwich was not a good idea since is got to the clutch pins and prevented them from moving (the magnet is quite weak). Your idea with a breeder tube is brilliant (I was considering using a goretex membrane).
|
|
|
Jesper
Hanse 400e |
|
|
|
|
sgrhma2
Captain
Joined: 20 November 2021 Location: Northern Irelan Status: Offline Points: 271 |
Post Options
Thanks(0)
Quote Reply
Posted: 24 March 2026 at 08:12 |
|
Yes around the clutch dogs you need to be very careful of the sealant application. In that area, Idiluted the hylomar with a bit of cellulose thinners and used an artists paint brush to apply a couple of thin coats, and the same again around the engagement ring gear. I was surprised that in a few areas the outer casings were just under 3mm thick. There is absolutely no way to get a metal to metal face that thin to seal without a gasket or some form of sealant.
When I get my act together Ill take a photo of the third gland with the breather tube and in-line drier. Simon
|
|
|
|
|
sgrhma2
Captain
Joined: 20 November 2021 Location: Northern Irelan Status: Offline Points: 271 |
Post Options
Thanks(0)
Quote Reply
Posted: 24 March 2026 at 09:11 |
|
I also meant to give a break down of the costs;
New clutch solenoids with dogs springs and magnets, and the replacement drive motor, delivered to me in N. Ireland £438. New set of stainless bearings including a spare seal and delivery £64. Third glad delivered £4.95. Aqua blasting £150. So for £657 you can have a fully rebuilt unit in better environmentally sealed than a new unit. I also found that red wine kept the rebuilder happy during the job Simon
|
|
|
|
|
Post Reply
|
|
| Tweet |
| Forum Jump | Forum Permissions You cannot post new topics in this forum You cannot reply to topics in this forum You cannot delete your posts in this forum You cannot edit your posts in this forum You cannot create polls in this forum You cannot vote in polls in this forum |
|
Links : www.hanseyachts.co.uk www.hanseyachts.com www.fjordboats.co.uk www.dehler.co.uk www.varianta.co.uk |


 Topic Options